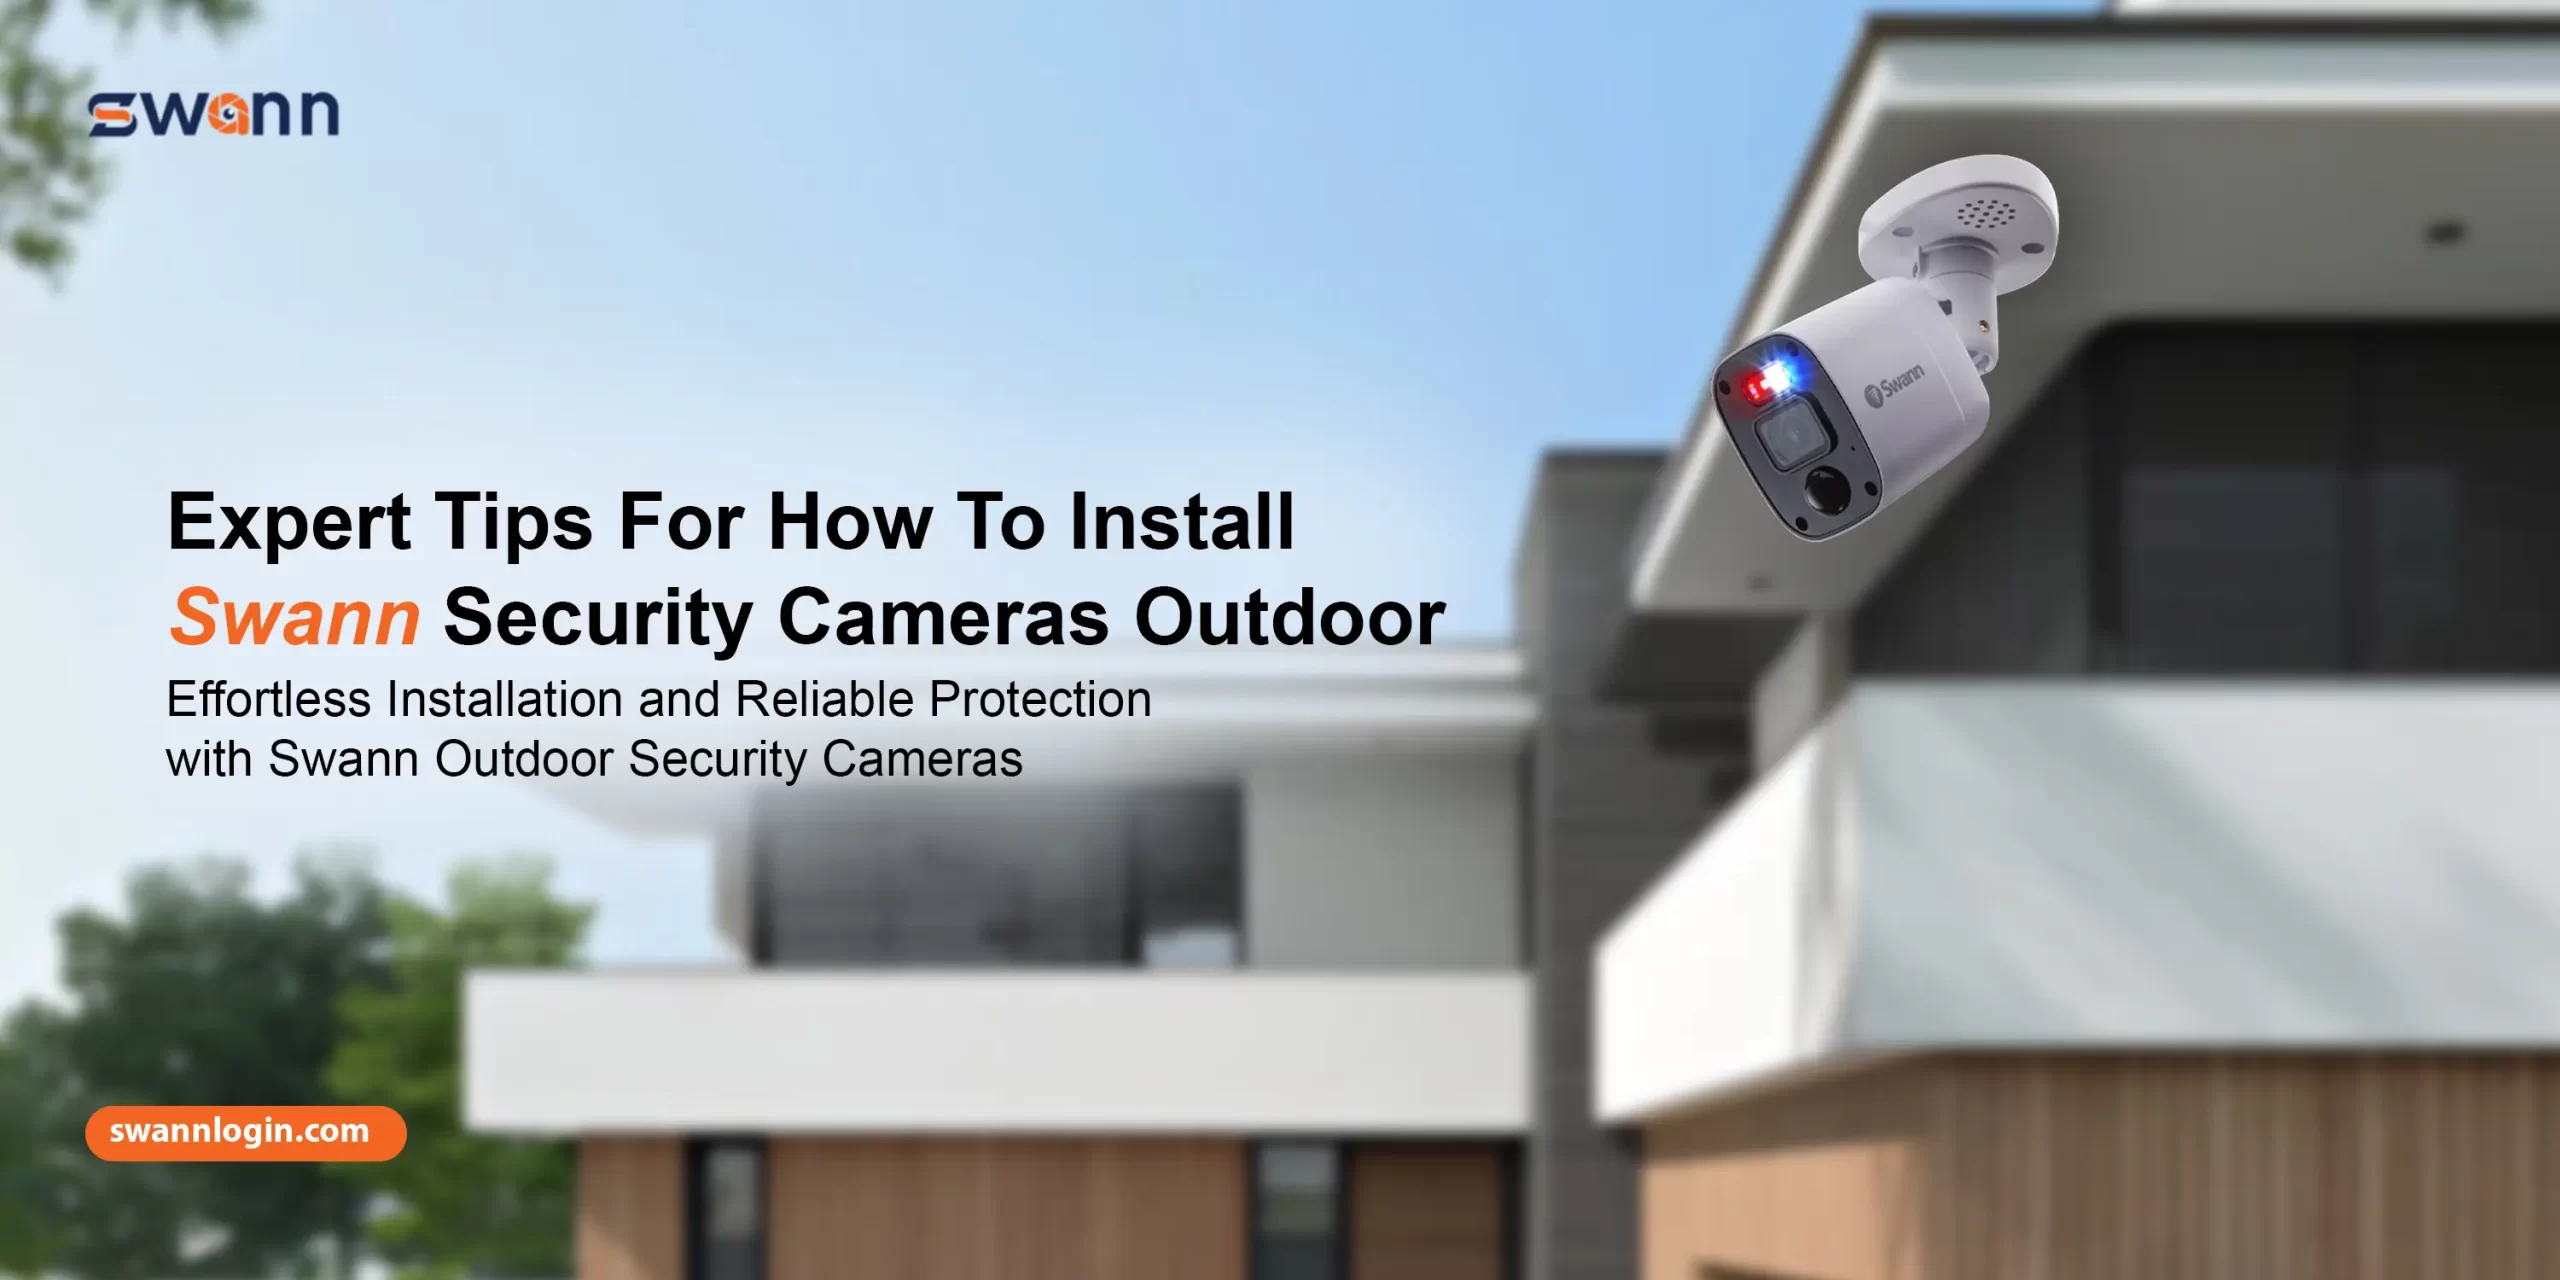
Expert Tips For How To Install Swann Security Cameras Outdoor
Generally, when it comes to home security, Swann cameras come first. These are easy to install, access, and configure because of their wireless connectivity. Likewise, before you access or set your CCTVs, it is necessary to learn how to install swann security cameras outdoor efficiently. However, installation and testing are mandatory before you mount your cameras in the selected location.
Additionally, if you own these surveillance devices, then it is necessary to understand the Swann security camera installation. For this, you can walk through our detailed guide, where you will find elaborative steps from unpacking to the installation and testing. Hence, stay connected to learn more!
How to install swann security cameras outdoor easily?
Furthermore, the installation of the Swann cameras is quite simple. You can follow our guide and also consider the user manual. Additionally, to start with the Swann security camera installation, select a location first and then go ahead with the instructions mentioned below:
Preparation for the installation
- Initially, unpack the camera box and check the available components in it.
- Ensure that none of the cameras and hardware is damaged and that the mentioned products are present in the box.
- After that, check the selected location as there is no direct sunlight or trees present.
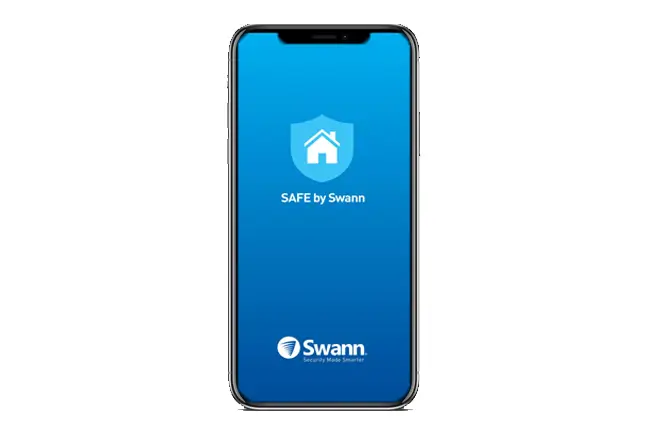
- Now, download the Swann Security application on your smartphone.
- Afterward, charge the security cameras by connecting the USB cable to the camera.
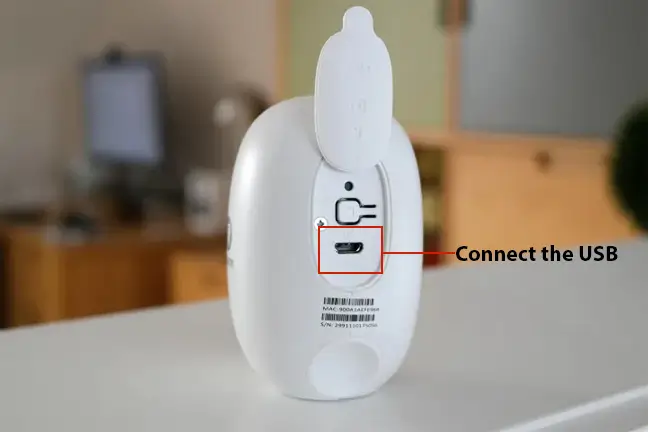
- If there is no nearby power supply, then you can use an extension board.
- After charging the security devices completely, power them on.
Test you Swann cameras
- Commonly, before you proceed further with how to install Swann security cameras outdoor, it is necessary to add the camera to the app first before mounting it.
- So, bring the smartphone on which you downloaded the Swann Security application.
- Connect the smartphone and cameras (temporarily) to the same home network.
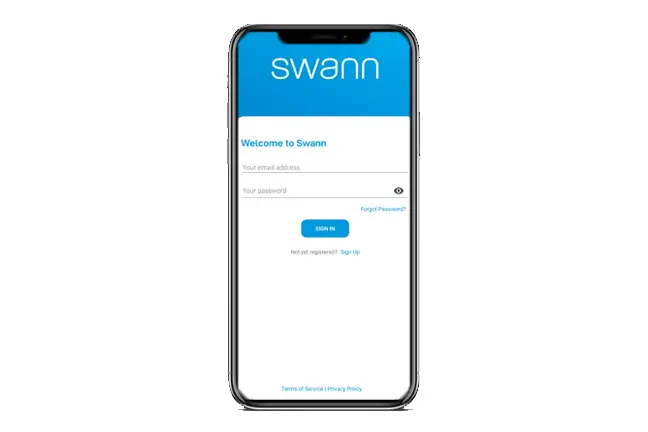
- Next to this, run the app and create a new account by entering the valid details.
- After logging in, you visit the home screen of the cameras.
- Hereon, click the “+” icon on the screen and follow the further instructions to add the camera to the app.
- Afterward, you are asked to choose the preferred network and connect the camera to it.
- So, go ahead with the on-screen guidelines and link your camera to the current network.
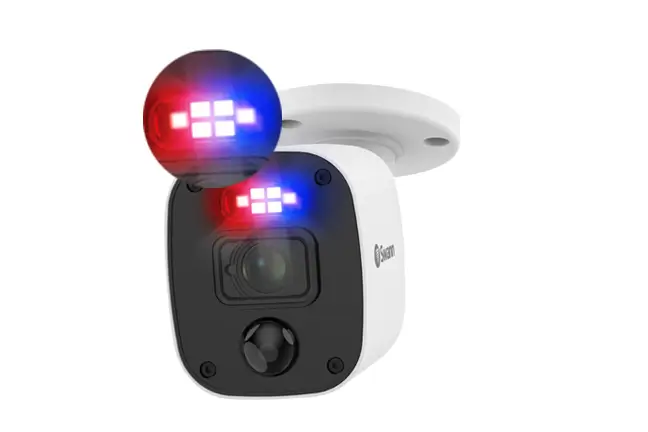
- Now, check that the LED on the security device blinks Blue, which shows the camera is in pairing mode.
- After completing the procedure, check that the live view and recordings are working fine.
- Finally, your camera is ready to mount.
Mount the CCTVs
- Before you mark the drill holes on the selected location, use the templates provided in the camera box.
- Bring this template and mark the holes using a pencil or marker.
- After that, drill the holes using a drilling machine on the marked places.
- Next, fix the mounting plate using the anchors or screws with the camera box.
- If you are using magnetic plate cameras, then there is no need to drill the holes.
- Now, set the camera within the mounting bracket and adjust the angle for 360° coverage.
- Your surveillance device is successfully mounted now.
- At last, you learn here how to install swann security cameras outdoor efficiently.
In the End
All in all, this detailed guide provides you with deep insights on how to install Swann security cameras outdoor without any hassle. Likewise, you learn here step-by-step instructions to unpack, test, and mount your surveillance devices successfully. Hope this concise guide will assist you in installing your CCTVs efficiently.