How to Connect Swann Camera to WiFi Easily?
When you purchase a new Swann security device, completing the initial setup is essential to maximize its functionality. A stable and reliable Wi-Fi network is crucial for optimal device operation. Therefore, it’s important to understand how to Connect Swann Camera to WiFi to Wi-Fi efficiently.
While the process of connecting the Swann camera to your Wi-Fi network is generally straightforward, some users may encounter difficulties. If you’re having trouble with the procedure to Swann Camera Connect to WiFi and would like to learn more about the setup process, you’ve come to the right place. For detailed instructions, please read the entire page.
Swann Security Camera Connect to WiFi in Brief!
Connecting your security device to an active Wi-Fi network is a necessary first step for further configuration. You can easily connect the Swann camera to the Wi-Fi network during its setup. Follow these steps for Wi-Fi configuration:
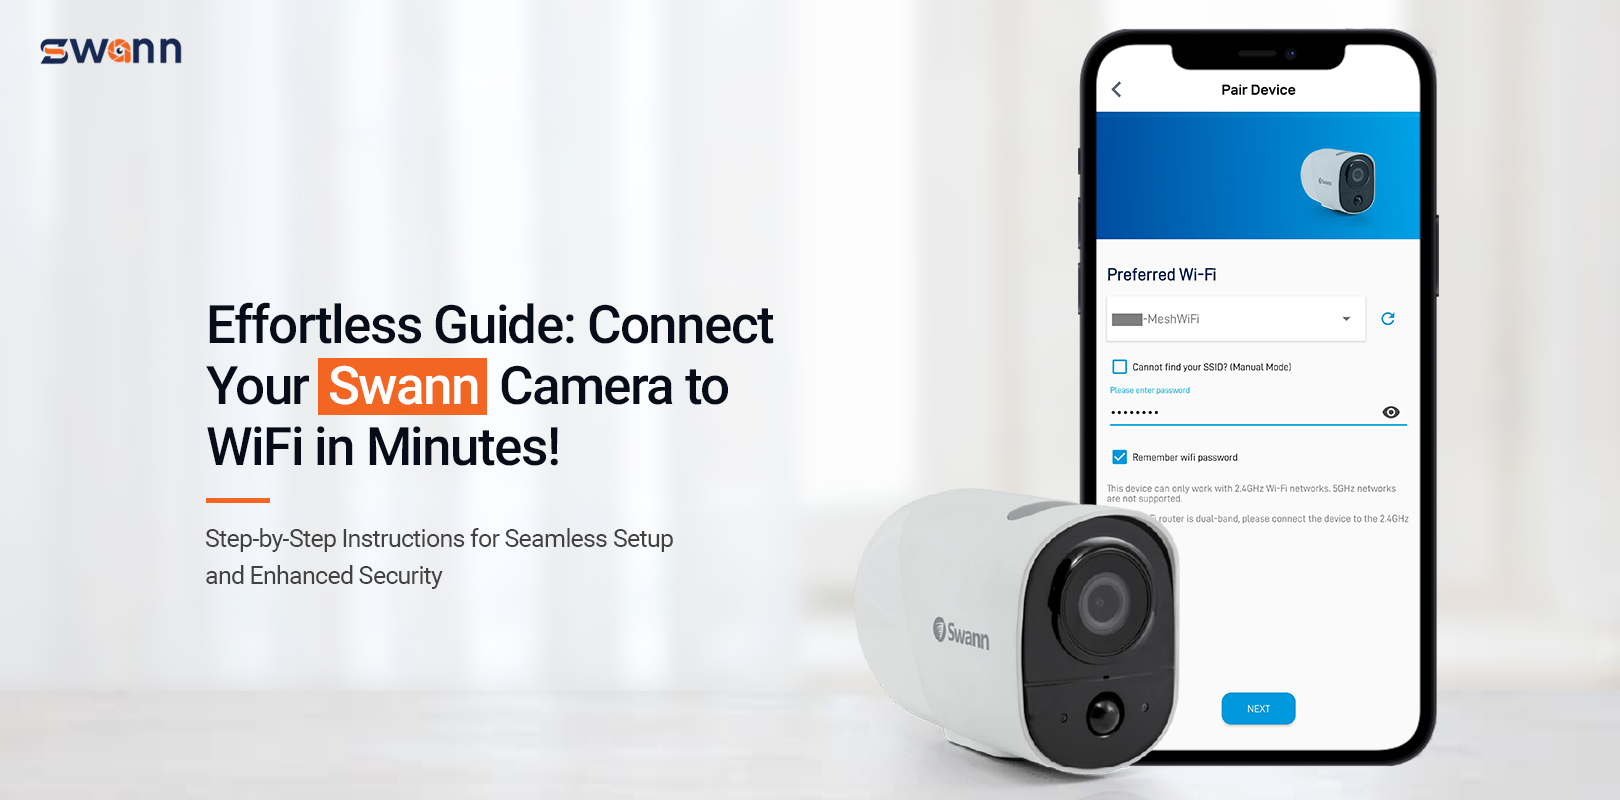
- First and foremost, make sure that the smartphone is connected to the recommended 2.4 GHz Wi-Fi network.
- Now, install the modernized version of the Swann Security app on your mobile phone.

- Then, open the app and access the admin panel by mentioning the appropriate details.
- Next, you visit the smart home dashboard of the smart camera.
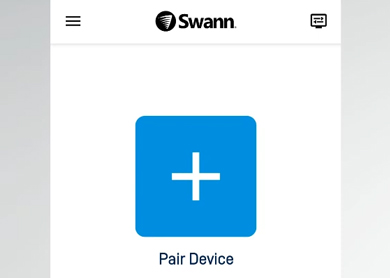
- Later, add the device to the app by tapping on the ‘+’ option and then the ‘Add device’ icon.
- After that, follow the upcoming guidelines on the screen for the further process.
- Now, move ahead with the ‘Device’ option at the button on the right corner of your display.
- Hereon, click on Select the Device on the list to update>Wi-Fi.
- Next, the change Network window will appear on the screen, click on the ‘PAIR’ option.
- After that, go ahead with the on-screen instructions for further configuration.
Why am I Unable to Connect the Swann Camera to Wi-Fi?
If you are not able to connect the Swann Camera to the Wi-Fi then this may happen due to poor internet connection, outdated firmware, incorrect camera configuration, the device being out of the router’s range, power outage, loose or faulty wires, ISP issues, or technical Glitches & Bugs.
Hereon, it is time to resolve the connectivity issues efficiently by using various methods. Here are some effective solutions to troubleshoot the problem.
- For better stability and improved signal strength, connect your device directly to the internet using an Ethernet cable.
- Make sure to update the camera’s version to the updated version by visiting the manufacturer’s website.
- Review and correct your camera’s configuration. Switch the bandwidth from 5GHz to 2.4 GHz.
- Confirm that both the smartphone and the camera are within the router’s signal range.
- To resolve technical glitches and bugs, power cycle your surveillance camera and base station.
- Ensure that your camera has an appropriate power supply for continuous operation.
- Check that all cables are secure and not faulty. If yes, then replace them with a fresh one.
- Afterward, if still network issues persist, reach out to your Internet Service Provider (ISP) for assistance and follow their guidelines.
- If your Swann device still isn’t connecting to Wi-Fi, try disabling your VPN and firewall temporarily.
- Moreover, if none of these solutions work, perform a master reset on your Swann camera to restore it to its default settings and reconfigure it.
Bottom Line
Overall, this blog describes the complete procedure for Connect Swann Camera to WiFi in an easy manner. Hopefully, now you can connect your camera wirelessly to the wifi network.